Panipopo Coconut Buns

Panipopo coconut buns
Panipopo Coconut Buns

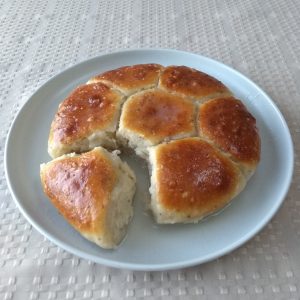
First request for a recipe – this one’s for you Kate! These sweet, soft, coconutty buns go so hard at potlucks you’d think they were teenage boys during lockdown.

I first became aware of these at the start of second year but it wasn’t till much later that year I decided to give them a nudge. They essentially semi-sweet bread rolls baked in a sweet coconut milk/sauce.  I think I fluked the first ones – they were insane! Since then, it has felt like I’ve made little errors each time, slowly improving, and now I make them with some degree of consistency.

I have a theory that you have to make something five times before you’ve actually got it down. The first time you might get it spot on, but you don’t know where you can trip up until you do, which might happen the second and third times, but by the fourth and fifth you have a pretty good idea of what’s going on. Having said that, I have made these so many times now and seem to still be finding ways to mess up. There’s probably many ways to make this, and I certainly seem to do it slightly differently every time, but here’s a framework anyway.

These are worth the effort, so shall we?

Panipopo – Coconut Buns (vegan)
Serves: 1-many (scale up as you need)
Prep time: 4.5 hours
Cook time: 25-30 minutes
Total time: 5 hours

Ingredients (for the dough):
300g flour
180g water (60% hydration but we’re adding other liquids)
30g oil (necessary to make the dough super soft)
Teaspoon of chia seeds (as an egg substitute and adds a funky texture)
30g sugar
1/2 tsp salt
1-2 tsp yeast

Ingredients (for the coconut sauce):
Equal parts coconut milk and water, nominally 100mL of each
~30g sugar (to taste)

Instructions:

  1. Mix 180g water, 30g sugar and one or two teaspoons of yeast in a cup or container. Give it a good stir to dissolve the sugar, and wait for the yeast to bloom (about 10 minutes).
  2. Soak the teaspoon of chia seeds in a small amount of hot water to create an egg substitute. This is probably not really necessary, so if you don’t have chia seeds you can just leave out this step. I just like the texture the chia seeds provide.
  3. In a large bowl, mix all the ingredients for the dough together now – flour, salt, oil, chia seeds and yeast mixture. I normally do this with a butter knife and give it a good stir like a KitchenAid would. The dough will be quite sticky but that’s what we want.
  4. We’re now gonna knead the dough until just after it starts to come together (you’ll know because it will sort of form a stiffer mass and stop sticking to surfaces). How ever you choose to do this, I don’t think it really matters. For wet doughs, I like the slapping technique shown here:
    https://www.youtube.com/watch?v=Qzx7dxuvaCo
  5. Place the dough into a greased bowl large enough to accommodate a doubling in size. Cover, and place in a warm place for around 4 hours until the dough has doubled in size. You can speed up this process by putting it into a warmed oven.
  6. Once doubled in size, take the dough out of the container and knock the air out of it, which you can do by gently kneading the dough a tiny bit more, or folding it. Now divide it into pieces (as many buns as you want to make). Roll into balls, this is my preferred technique (skip to 1:50):
    https://www.youtube.com/watch?v=Gx2Sf3XqkhQ
  7. Place the balls into a deep dish that you’ve pre-greased with marge. A cake tin works well or just whatever you want to use. You’ll want to place them about 1 cm apart – when they proof for the next 30 minutes or so, they’ll flatten out a bit, press into each other, then rise up. And that’s key because if they’re too far apart, they’ll flatten out and you’ll have flat buns at the end.
  8. Cover your dish and wait for the balls to double in size, around 30 minutes. In the meantime, mix the equal parts coconut milk and water, and dissolve the sugar into it. This sauce should be quite sweet and that’s how we want it. Preheat the oven to 190 degrees C.
  9. Once the dough has proofed, pour your coconut sauce over the top til you can just see the tops of the buns. This one requires your judgement and probably a bit of experimentation – don’t add too much as they might not cook properly, but also not too little or you won’t get the taste of coconut.
  10. Bake for around 25-30 minutes, at which point they should be nice and golden on top.

Concluding remarks: It’s a long recipe, but not as much work as it actually seems. Highly worth trying!
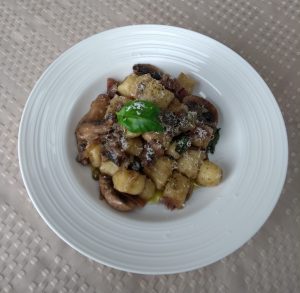
Gnocchi With Red Wine And Mushrooms

Gnocchi with red wine and mushrooms
Gnocchi with Red Wine and Mushrooms

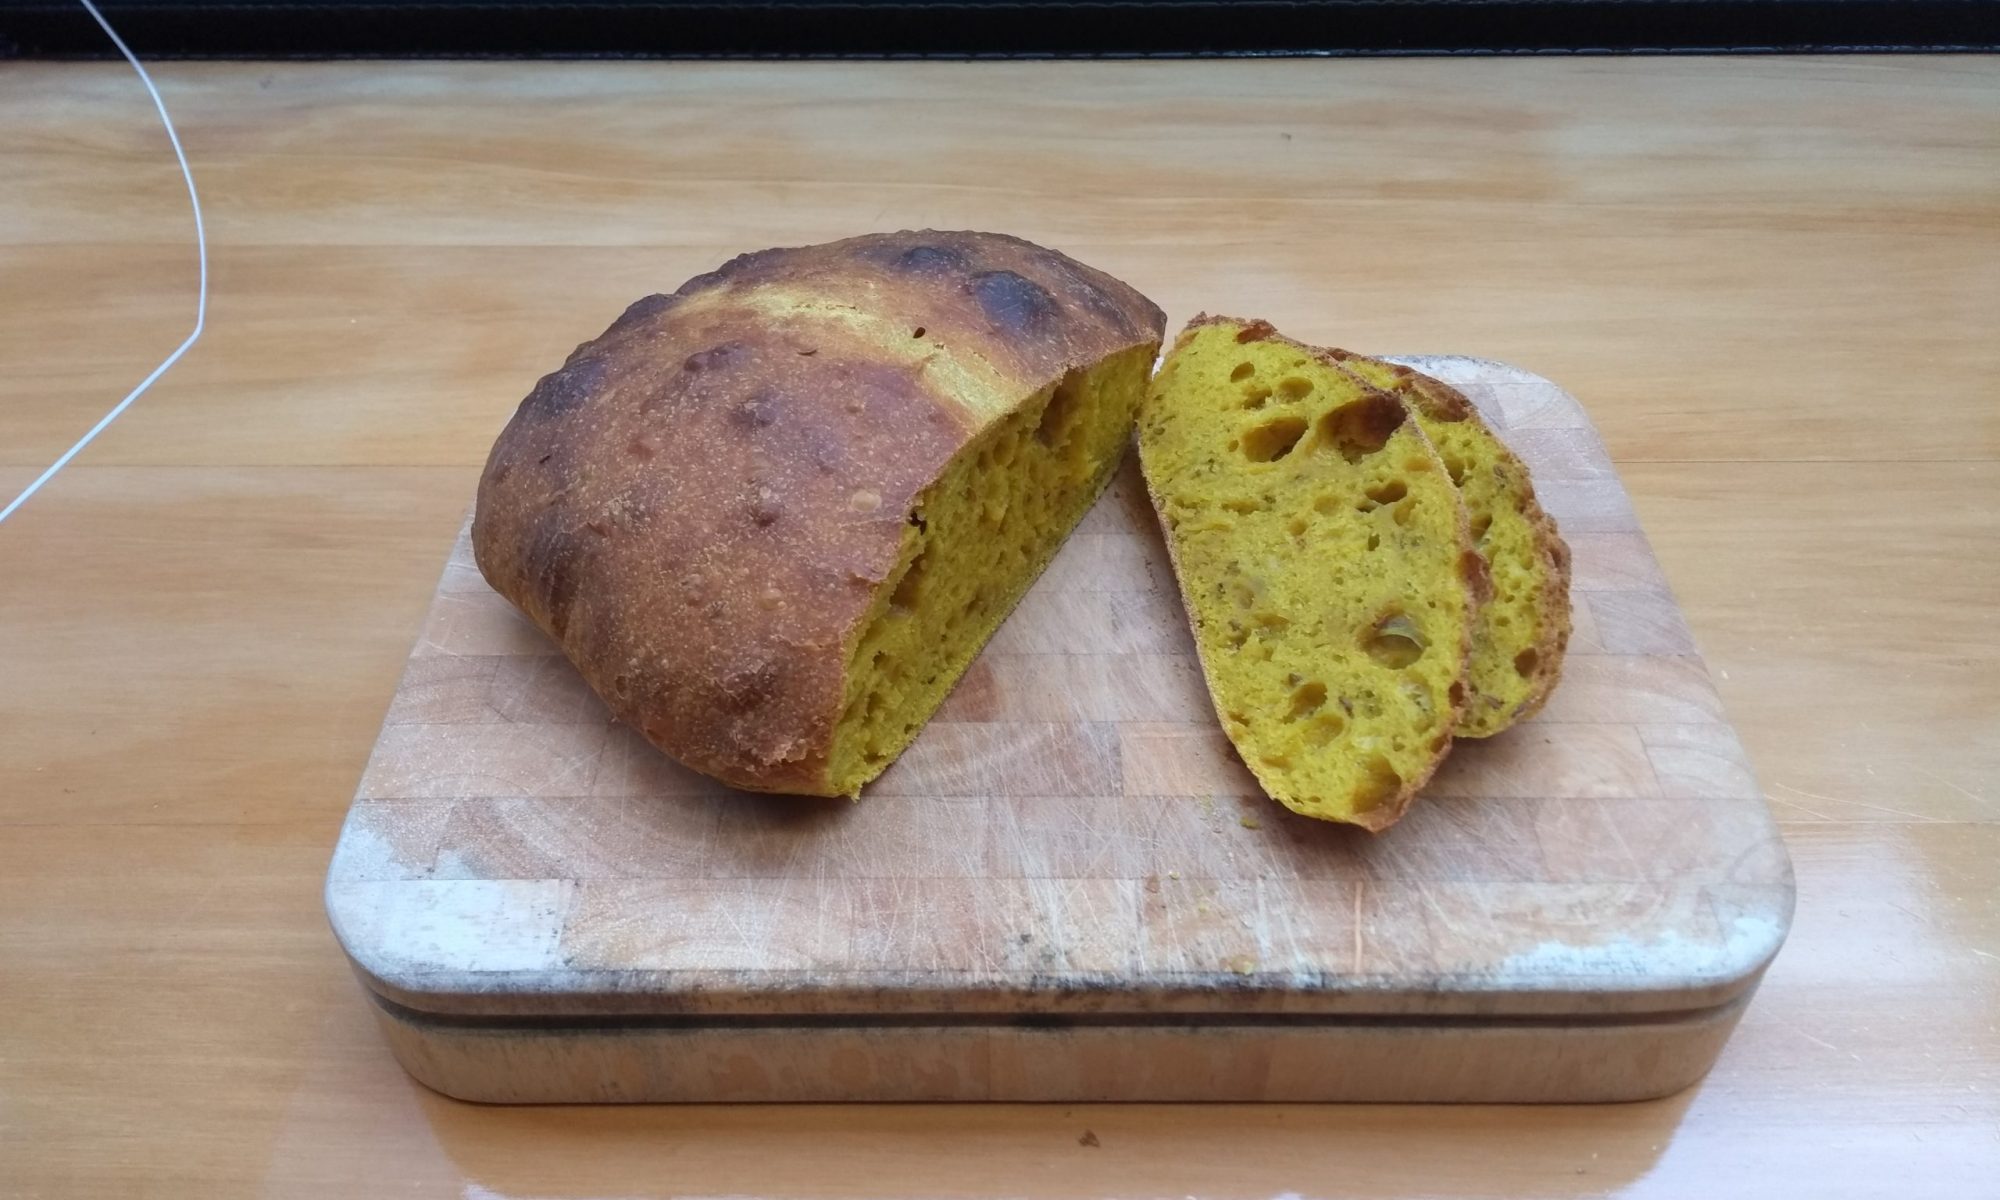
A different take on gnocchi this time. Not fried, these soft, pillowey, potatoey mouthfuls of joy in the rich sauce went so much better than I thought it would. Simple as to make the sauce, the key is a bit of pancetta or bacon to build the base flavour.

I haven’t gone into any detail about how to make the gnocchi in this recipe, only the sauce. My method for making gnocchi can be found here:
https://sebcooks.blogtown.co.nz/2020/03/25/gnocchi/

Can’t think of anything else to say, but definitely recommend trying this!

Gnocchi with red wine and mushrooms
Serves: 3
Prep time: 15 minutes
Cook time: 15 minutes
Total time: 30 minutes (but making the gnocchi will take extra time)

Ingredients:
Half a brown onion
100g of pancetta or bacon
300g of mushrooms (your choice)
1 tsp capers
50-75mL red wine
3 serves of gnocchi (about 100g of potato each)
3 Tbsp extra virgin olive oil
Salt and pepper
~2 Tbsp starchy water from the gnocchi
Basil – as many leaves as you can afford
Parmesan or pecorino to serve

Instructions:

  1. Cook the gnocchi and reserve some of the starchy salted water. I think it’s best to avoid putting all the gnocchi in a bowl as they tend to squash the at the bottom and continue to cook. So maybe put them on a large plate or other flat surface (a clean chopping board?).
  2. Finely dice the onions, and bacon/pancetta. Slice the mushrooms.
  3. In a large pan over medium-high heat, add the onions and bacon/pancetta in a small amount of olive oil. The fat from the bacon/pancetta will render out so don’t overdo it at the start with the olive oil.
  4. After a few minutes add the mushrooms and capers, fry for a few more moments, then add the red wine – a decent splash, about 50mL or more if you think, but we don’t want too much liquid in the pan at this stage. Add a bit of your starchy water now, about two tablespoons. There should now be a small amount of liquid in the bottom of the pan and it’ll be a little bit thickened from the starches.
  5. Once the mushrooms are cooked (a couple more minutes), add the gnocchi to the pan with the rest of your olive oil and turn the heat up. Saute to allow the sauce to thicken a bit. At this point, taste, and salt if required – avoid over-salting too early due to the intrinsic salt from the bacon/pancetta. Add a decent bit of pepper.
  6. Remove from the heat and stir through some fresh basil.
  7. Serve topped with pecorino or parmesan with some extra basil and olive oil.

Concluding remarks: None. Pls try it.

Italian Chicken in Red Wine Sauce

Italian chicken in red wine sauce
Italian Chicken in Red Wine Sauce

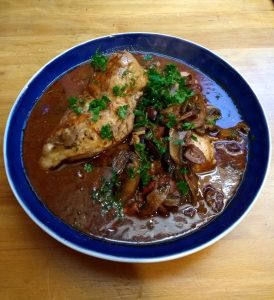
I had fun with this one – it’s not always I get to cook with as much wine as I like. My mum really liked it; I thought it was pretty nice, maybe 8/10 good.

The recipe is based on Gennaro’s “chicken supreme”, but I’ve made a few modifications based on what I felt like doing and what we had. The richness and saltiness of the sauce from the oliveoil, olives and anchovies really make this dish. People are often unsure about using anchovies because of their strong smell, but give it a go and you’ll see it adds incredible flavour without a fishy scent. Overall a pretty straightforward recipe, no reason why anyone couldn’t make this.

I suggest butterflying the chicken breast, as this will help it to cook a bit more evenly – unfortunately I had two medium breasts and one large one and even each one on the thinner aspect was slightly overdone.

Shall we?

Italian chicken in red wine sauce
Serves:3-4
Prep time: 20 minutes
Cook time: 20 minutes
Total time: 40 minutes

Ingredients:
3 medium chicken breasts, butterflied if you wish
10 olives
2 tsp capers
4 cloves garlic
1 chilli
5 anchovies
Half a can of tomatoes, crushed
6 medium portobello mushrooms
~1/2 cup of your choice of red wine
~4 Tbsp extra virgin olive oil
Salt and pepper
Small amount of flour (to coat chicken)
Parsley (to serve)

Instructions:

  1. Pit and halve the olives. Slice the garlic, chilli, anchovies, mushrooms and parsley while you’re at it.
  2. Season the chicken with salt and pepper. Coat sides with a dusting of flour. The flour not only helps the browning/crust of the chicken but will add a bit of thickness to the sauce.
  3. In a large pan over medium-high heat, fry the chicken in two tablespoons of extra virgin olive oil until lightly golden-brow on both sides, about 2-3 minutes per side. Deglaze the pan with 1/4 cup of red wine (half of what you have). Let the alcohol cook off, then remove the chicken.
  4. Add another tablespoon of the olive oil and lightly fry the garlic, chilli and anchovies for a minute. Add the mushrooms, stir, then add the rest of the wine and the tomatoes. Add olives and capers as well. I don’t think there’s any particular order once the garlic, chilli and anchovies are fried. You could save a bit of wine to go in the pan just before you finish the cooking.
  5. Once the sauce is simmering, return the chicken to the pan and cover with a lid for around 5-10 minutes or until the chicken is cooked.
  6. Taste the sauce now – it will likely already be salty enough from the anchovies and olives, but add salt if required. Stir through the chopped parsley and one more tablespoon of olive oil.
  7. Serve with anything you like! I made roast potatoes and sauteed some cabbage (only veg we had).

Concluding remarks: The leftover sauce can be used for a super quick and easy pasta for the next day! Hope your mum like this as much as mine did.

Paucity of Flour: No-Knead Seed Bread

No knead seed bread
No-Knead Seed Bread

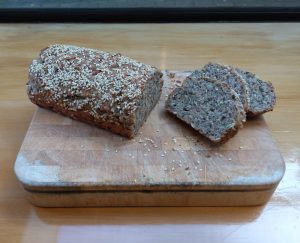
Pressure makes diamonds, and this one turned out to a gem. With flour supplies running low in the house and empty shelves at the supermarket, I had to get inventive to get my baking fix. What they did have however was heaps of seeds, so I decided to make a bread packed with seeds and the little flour I had left.

I found a bunch of different recipes online all slightly different. Some used baking powder as the leavening agent, but I enjoy the magic of yeast, so gave that a go instead. Many called for the use of milk and eggs but I wanted to make this vegan to be more accessible. Didn’t have any idea how it would turn out but it ended up mean!

The hydration of the dough is well over 100% which makes it difficult to handle, but is necessary due to the seeds which soak up the liquid. For that reason it’s no-knead, which makes it no effort at all to make.

I baked this in the morning and served it for lunch with my spiced capsicum and avo on toast which you can find here:
https://sebcooks.blogtown.co.nz/2020/03/27/spiced-capsicum-on-avo-toast/

Anyhow let’s get cracking!

No-knead seed bread (vegan)
Serves: 4 (about 10 slices)
Hands-on time: 10 minutes
Hands-off time: 12 hours
Cooking time: 45 minutes

Ingredients:

150g high-grade flour
150g wholemeal flour
330g water
1 tsp yeast
2 Tbsp sugar
50g oil (any oil is fine)
Mixed seeds: (literally use anything you want/have!)
40g linseeds
40g sesame
40g sunflower
40g pumpkin
40g chia (this might be important because chia can act as an egg substitute)
A good sprinkle of salt ~ I used 1-2 tsp of coarse rock salt

Instructions:

  1. In a dry pan over medium-high heat, toast the seeds until fragrant. Add a good sprinkle of salt – it helps to dry out the seeds. This might take around 5 minutes.
  2. in the meantime, mix the 330mL water, two tablespoons sugar and one teaspoon of yeast in a bowl and give it a good stir.
  3. Once the seeds are done, you could let them cool for a short time or put them straight into a large mixing bowl with the flour. The dry mixture will now be quite warm, but not painfully so. If it is painfully hot, don’t add the liquid mix until it has cooled down because this will kill the yeast.
  4. Once you’ve added the liquid mixture, give it all a quick mix, adding the 50 grams of oil as you go. Continue just until the point that everything looks properly mixed – there’s no point doing any more. The dough will now be very liquid and sticky and likely quite warm, but this is fine.
  5. Cover and let it prove overnight.
  6. Once proved, you’ll see that the gluten structure has developed in the dough and it is much easier to handle. Knock the air out of the dough but giving it a few folds like this:
    https://www.youtube.com/watch?v=XzG90C2PExI
  7. Grease a loaf tin, roughly shape the dough to fit and pop it in.
  8. Heat the oven to 200 degrees C and let the dough rise while the oven heats – by the time the oven is ready, the dough should have had long enough to rest. It’s not going to double in size like other dough due to the low flour content.
  9. Top with more seeds if you like and bake for around 45 minutes or until golden brown on top and it sounds hollow.

Concluding remarks: This loaf may seem more expensive to make than your regular bread, but I would calculate it to be less than $3 for the ingredients all up. A super healthy loaf, would highly recommend. 8/10