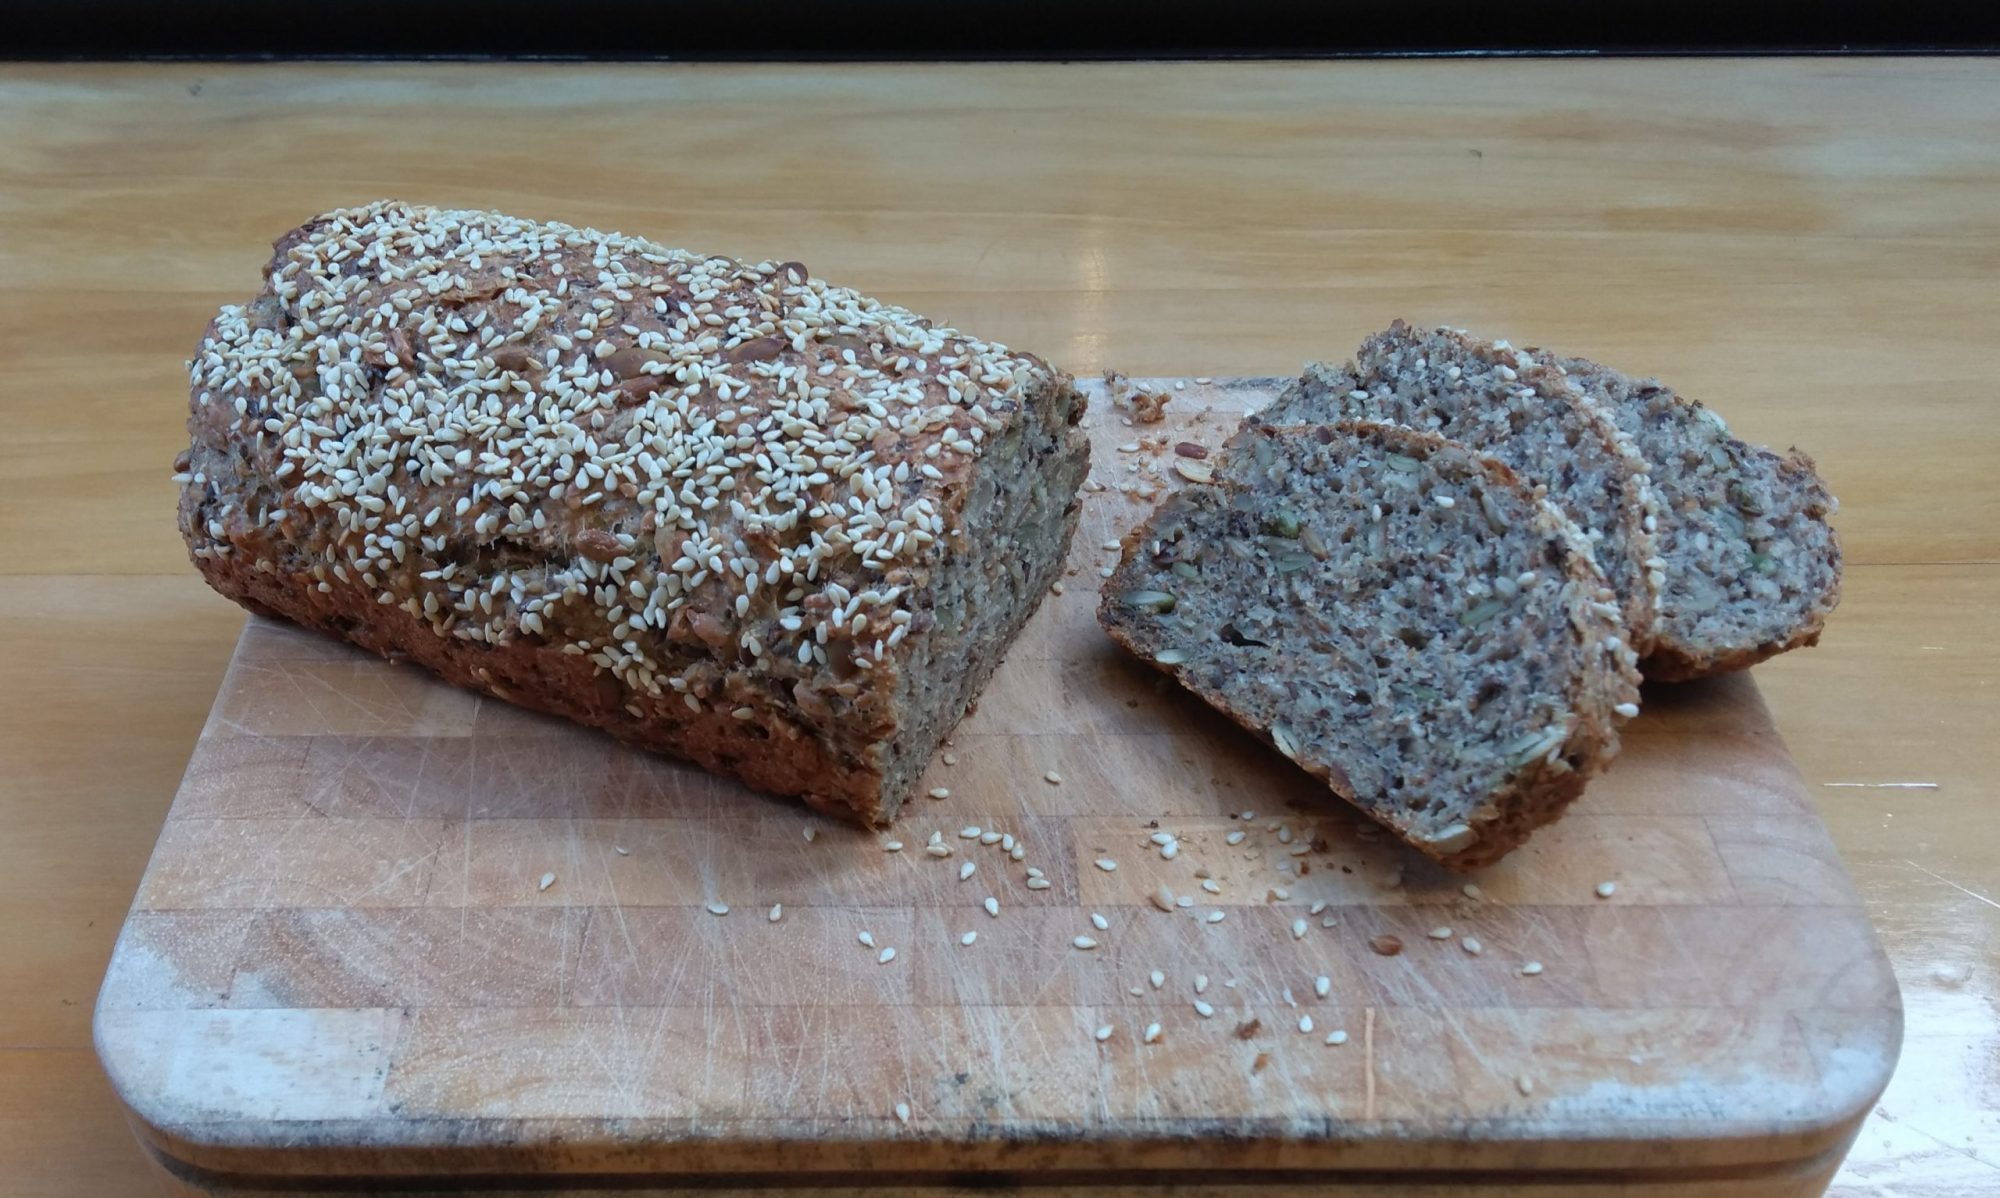
I’m definitely no bread expert, but I’ve made a lot of it. Playing with dough is frickin’ satisfying. Over the past few months I’ve moved outside normal bread (flour, water, salt and yeast) into bread with kumara or potato. I was skeptical at the start as to whether the bread would still hold up structurally, but I’ve found it not to be too bad. The result is a moist crumb (interior part of the bread) and a firm crust (depending on how you bake it).
I made an error with this loaf as I overstretched the gluten to get it into the loaf tin; it would have been better off baking it straight on a tray or a Dutch oven. Despite this mistake, the bread still turned out mean – the crumb had good depth of flavour and was soft and moist. I think this recipe is a pretty difficult one to screw up which is what I like about bread baking; there’s so many ways to do it right and the bread usually turns out pretty well even if you’ve messed up. On the flip side, there’s heaps of ways to do it wrong, and I’ve had my fair share of those (including my first time making bread where I put 16g of salt into the loaf and ended up with a salty brick). But you have to be doing something really wrong to get it wrong.
Possibly the thing that bugs me the most about recipes and baking is when people use cups as their measure rather than grams (or other weight). The variability in the amount of flour in 1 cup will definitely change the texture of your bread and that makes it so difficult to improve because you don’t really know what effect other changes might have had on your bread. Get a weighing scale.
The good news is that bread can be 65% hydration (65g of water to 100g of flour) all the way up to 100% hydration (100g of water to 100g of flour) and if you treat it right, it will still bake successfully and be good to eat.
So let’s get cracking.
Potato bread (vegan)
Serves: 4 (might get around 8-10 slices, but depends how you bake it)
Hands-on time: 15-20 minutes
Hands-off time: 4 – 24 hours
Cooking time: ~30 minutes
Ingredients:
1 or 2 medium Agria potatoes (other varieties will work, but floury potatoes are best)
~400-500g high-grade flour (depending on the weight of potatoes)
Water (depends on flour and potatoes – we’re gonna go 60% hydration)
1/4 tsp yeast
1/2 tsp salt
1 Tbsp olive oil (or other oil)
Instructions:
- Cook the potatoes. Not fussed how you do this, whether you use leftovers or otherwise. If you use boiled potatoes or leftover mash you may want to reduce the water later on by a small amount, nominally 25g (or if not, it doesn’t really matter!). I suggest the fastest most efficient way is cooking them in the microwave. Stab the potato 3 times on both sides with a paring knife and microwave for 3.5 minutes per side.
- Take the skin off the cooked potatoes and mash the potato. I used a potato ricer but this isn’t necessary.
- At this stage I salted the potatoes with about 1/2 tsp of salt but just use a pinch or a small amount. You could add the salt to the flour instead; I don’t think it would make any difference.
- Weigh the mashed potatoes and measure out 3.5x the weight of the potato in flour (e.g. 100g of potatoes needs 350g of flour). The moisture in your potato will change the texture of the bread, but a ratio of 3.5 is pretty safe.
- Now measure out 0.6x the weight of the flour in water (e.g. 350g of flour needs 210g of water).
- Add the 1/4 tsp of yeast to the flour (this may take up to 24 hours till it’s ready to bake, so if you need the bread sooner, use a bit more yeast. If you need it within a few hours, warm your water, then add 1 Tbsp yeast and a touch of sugar to the water and let it bloom for 10 minutes before continuing).
- Mix all your ingredients together in a big bowl: flour + yeast, potatoes + salt, water and 1 Tbsp olive oil. Bring together initially by mixing with a butter knife or your hand then turn it out onto a surface and knead for 5 minutes. The dough will be moist and sticky due to the potato starches – don’t add more flour. Regardless of how moist it feels, it will still come together and make good bread. The dough will not become smooth like it might with normal bread; I think the kneading is just important to ensure everything is evenly mixed. There is often no need to knead normal bread other than for fun (but definitely a reason to need it!)
- Once somewhat smoother than before, place the dough into an oiled container, cover and let sit until it roughly doubles in size (4-24 hours). If you need it to double faster, put the container into the oven at 50 degrees C or the lowest setting and turn off the oven when it reaches temperature. The depth of flavour of the bread will be better the longer you leave it to rise.
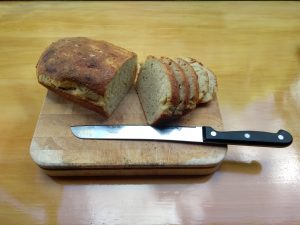
- Once doubled in size, it will now be a smooth dough. Knock the dough down a bit and place into a greased loaf tin, or shape into a ball and place it on a baking tray smooth side up. Let it rise again for about 20-30 minutes, then heat the oven to 220 degrees C.
- Cook for around 30 minutes or until it sounds hollow to knock on the top. You can cook it for a bit longer if you want a firmer crust or a bit shorter if you want a softer crust, but 30 minutes should be pretty safe.
- Cool on a wire rack or other item such that there is airflow underneath the loaf. This step is important as if finishes off the cooking process, just like resting a piece of meat.
Concluding remarks: It’s a slow process, but you learn and gain experience each time you bake. The bread will probably turn out differently every time, but that’s fine because it will still taste pretty good! The most important thing is to have fun along the way.